
Molding and Chilling
- Take a mold with a flexible rim; it should be smaller in size since this recipe makes a smaller batch. If you desire more, simply double the ingredients.
- Pour the prepared mixture into the mold and use a spatula to pat it down and level it nicely.
- Cover the mold with cling film and place it in the refrigerator for 2-3 hours to let it cool.
Preparing the Glaze
- While your protein bar mixture is cooling in the fridge, you can prepare the glaze. Take 50 grams of cocoa and gradually add a little coconut milk until it forms a runny glaze.
- Adjust the sweetness of the glaze to your liking by adding sweetener. Mix it well.
The Final Touch
- Once the protein bar mixture has cooled, remove it from the refrigerator.
- Pour the prepared glaze evenly over the top of the mixture.
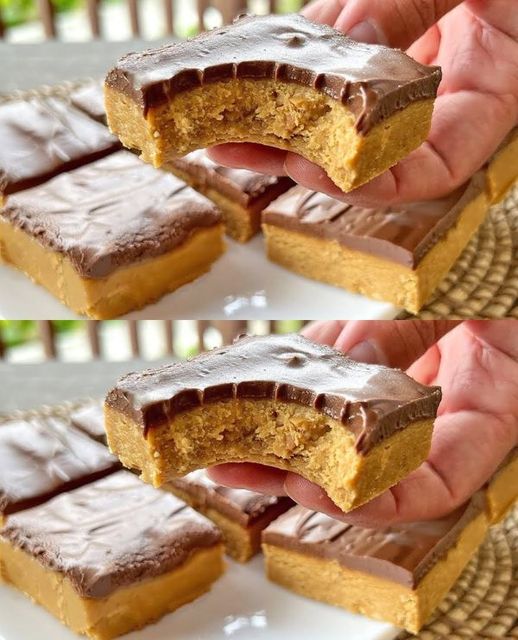
- Cut the bars into cubes, and they are ready to be served immediately.
These homemade protein bars not only taste amazing but also provide you with a nutritious snack option. Some even say they are tastier than Snickers! Plus, they are sugar-free and require no baking. What more could you ask for?
Conclusion
In a world filled with unhealthy snacking options, making your own protein bars is a game-changer. They are easy to prepare, healthier than traditional candy bars, and customizable to your taste preferences. Next time you’re craving a sweet treat, whip up a batch of these protein bars and enjoy guilt-free snacking.
