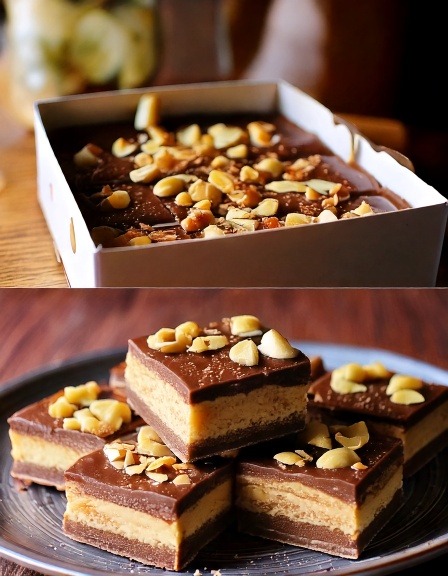
7-Layer Chocolate Coconut Peanut-Free Freezer Bars Recipe
Summary
Looking for a decadent yet healthy dessert that’s easy to make, freezer-friendly, and totally irresistible? These 7-Layer Chocolate Coconut Peanut-Free Freezer Bars are a powerhouse of flavor and texture — featuring creamy coconut, crunchy seeds, rich chocolate, and a naturally sweet base. Perfect for those who are peanut-allergic, gluten-sensitive, or just love guilt-free indulgence.
Ideal for make-ahead treats, snack time, or potluck parties, these bars are sure to satisfy your sweet cravings while packing in nutrition. Plus, they’re vegan, dairy-free, gluten-free, and can be customized easily. Let’s dive into this recipe that will become your go-to freezer favorite!
Prep Time: 20 minutes
Cook Time: 0 minutes (no-bake)
Total Time: 3 hours (includes freezing time)
Servings: 12 bars
Calories: ~210 kcal per bar
Course: Dessert, Snack
Cuisine: American, Plant-Based, No-Bake
Ingredients
For the Base:
- 1 ½ cups rolled oats (gluten-free if needed)
- 1 cup Medjool dates, pitted
- 2 tbsp unsweetened cocoa powder
- 1 tbsp maple syrup
- 1 tbsp coconut oil
- Pinch of sea salt
For the Middle Layer:
- 1 cup unsweetened shredded coconut
- ½ cup sunflower seed butter (or almond butter if not peanut-free)
- 2 tbsp maple syrup
- 1 tbsp coconut oil
- 1 tsp vanilla extract
For the Topping:
- ¾ cup dark chocolate chips (dairy-free)
- 1 tbsp coconut oil
- ¼ cup toasted pumpkin seeds (optional)
- 2 tbsp coconut flakes (for topping)
- Flaky sea salt (optional)

Equipment Needed
- Food processor
- 8×8 inch baking dish
- Parchment paper
- Spatula
- Measuring cups and spoons
- Microwave-safe bowl or double boiler (for melting chocolate)
Instructions
Step 1: Prepare the Base
- Line an 8×8 inch pan with parchment paper.
- In a food processor, blend the oats until they become a coarse flour.
- Add the pitted dates, cocoa powder, maple syrup, coconut oil, and a pinch of sea salt.
- Process until a sticky dough forms. It should hold together when pinched.
- Press the mixture evenly into the bottom of the prepared pan using a spatula or your hands.
